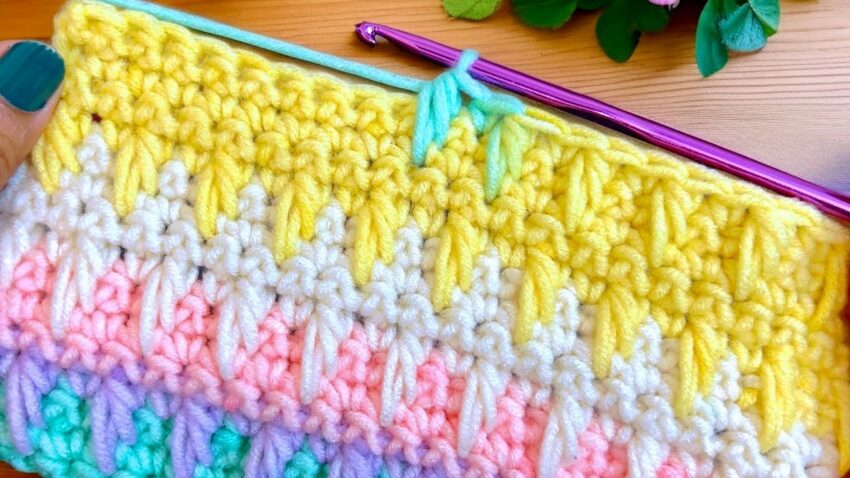
step-by-step, so you can exactly recreate the crochet pattern shown in your photo.
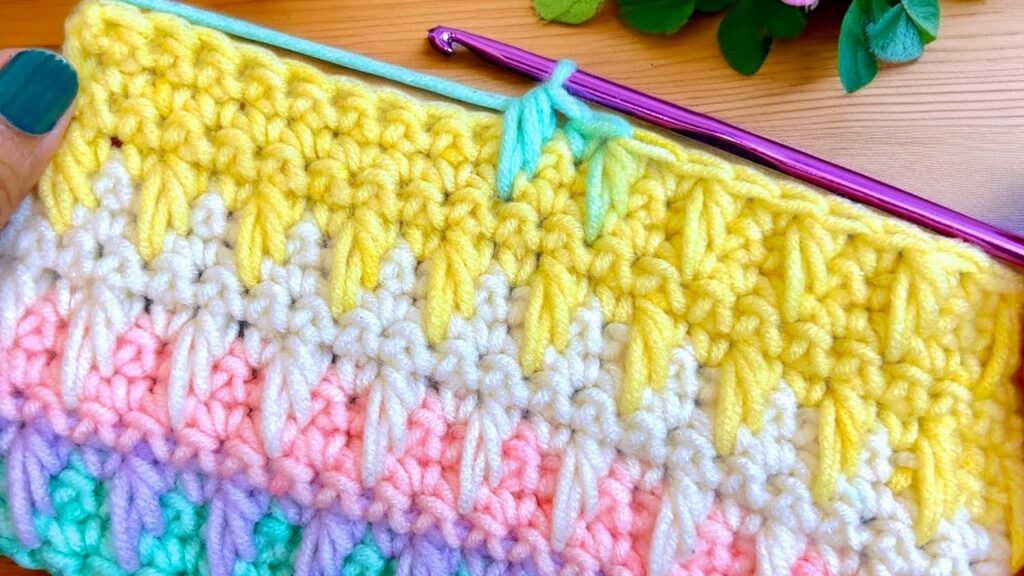
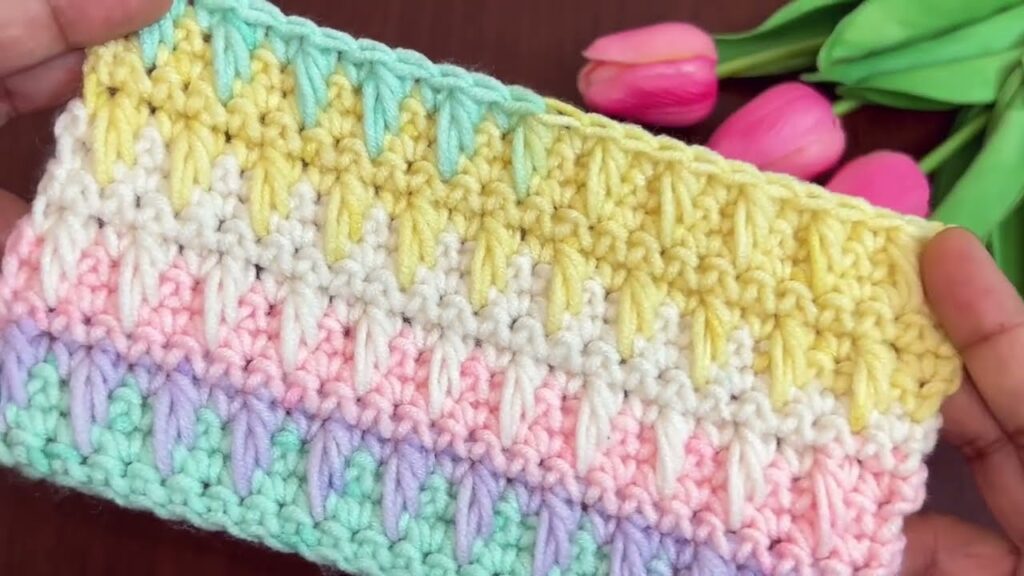
The texture and color transitions in your image come from a combination of puff (or bean) stitches and double crochet rows that create vertical “drops” of color. I’ll break it down completely.
🌼 FULL DETAILED CROCHET PATTERN
“Rainbow Puff Stitch Crochet”
🧶 Materials:
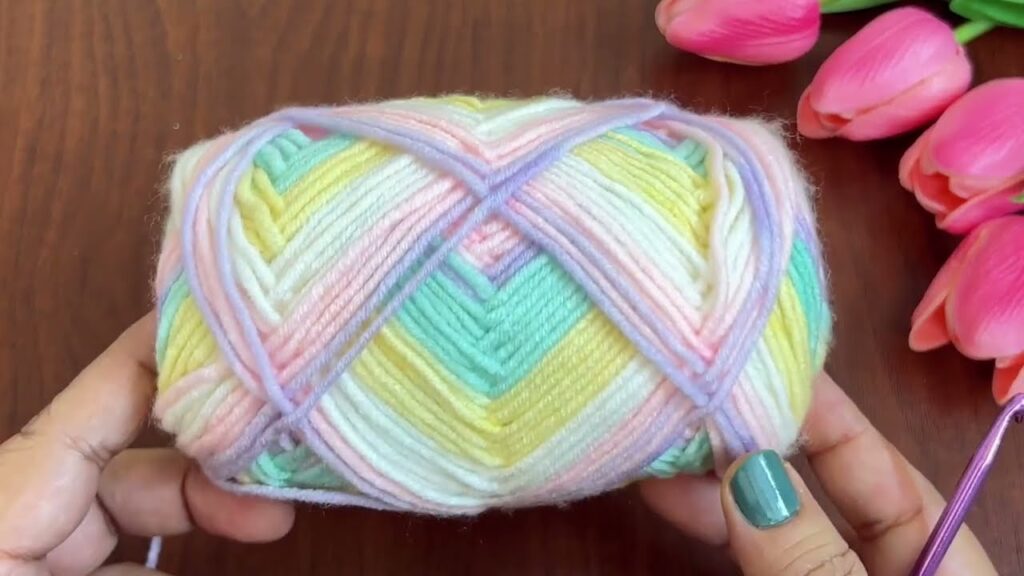
- Yarn: 5 colors of medium-weight (category 4) acrylic yarn (pastel mint, lavender, pink, white, yellow).
- Hook: 5.0 mm (H/8) crochet hook.
- Scissors and yarn needle for finishing ends.
🧵 Abbreviations (US Terms):
| Abbreviation | Meaning |
|---|---|
| ch | chain |
| sc | single crochet |
| dc | double crochet |
| st | stitch |
| yo | yarn over |
| puff st | puff stitch (explained below) |
| rep | repeat |
🌸 Puff Stitch (how to make it):
- Yo, insert hook into stitch, pull up a loop (3 loops on hook).
- Yo, insert hook into the same stitch, pull up another loop (5 loops).
- Yo, insert hook again into the same stitch, pull up another loop (7 loops).
- Yo and pull through all 7 loops.
- Ch 1 to close the puff.
This creates the little “teardrop” texture you see.
🌈 Foundation:
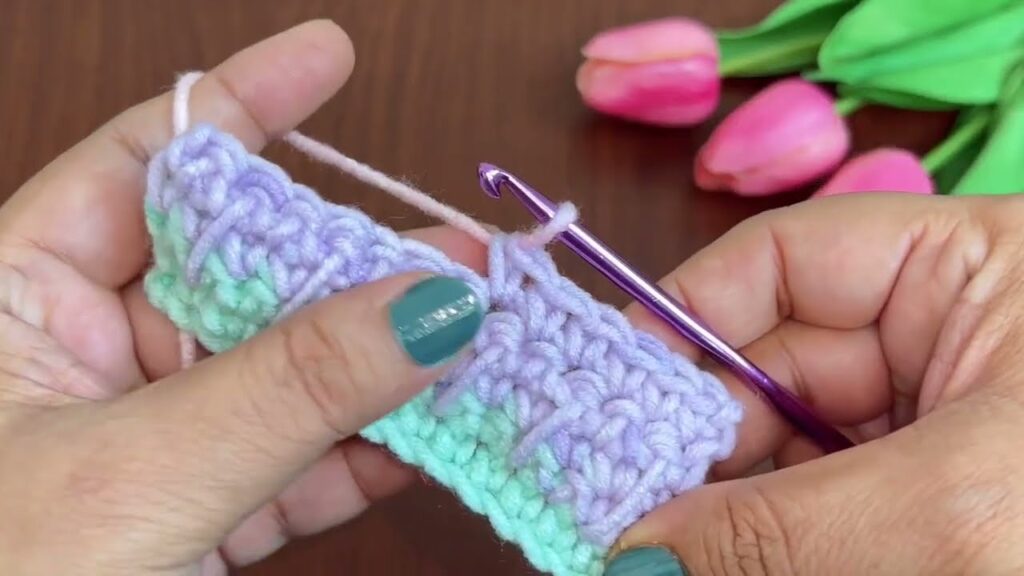
- With your first color (mint), ch 33 (or any multiple of 2 + 1).
- Row 1: Sc in 2nd ch from hook and across. (32 sc). Turn.
💛 Row 2 (Puff Stitch Row):
- Ch 1 (does not count as a st).
- Skip 1 st, puff st in next st.
- Ch 1, skip 1 st, puff st in next st — rep to end.
- Sc in last st. Turn.
👉 This creates your first row of puffs (small raised clusters).
💛 Row 3 (Sc Row):
- Ch 1, sc across (1 sc in each puff st and each ch-1 space). Turn.
🔄 Repeat Rows 2 and 3, but start changing colors every 2 rows.
🎨 Color Changes:
Change yarn every 2 rows like this pattern:
- Mint (rows 1–2)
- Lavender (rows 3–4)
- Pink (rows 5–6)
- White (rows 7–8)
- Yellow (rows 9–10)
Then repeat this sequence for as many stripes as you want.
💫 Optional Fancy Texture Row (like the one in your yellow section):
To create the elongated “drop” look (vertical V-shape you see):
- Instead of regular puff stitches, make long puff stitches (insert hook one row below).
So for those rows:
- Insert hook into the row below the current one (not just into the top loops).
- Make the puff stitch there — this gives the illusion of longer, “dropping” stitches between rows.
Alternate normal puff stitch rows and long puff stitch rows for a beautiful woven texture.
🪄 Finishing:
- When your piece reaches the desired length, end with a sc row.
- Fasten off and weave in all yarn ends with a needle.
- Optional: Add a border (1 round of single crochet all around, using white or yellow yarn).
🧩 Texture Summary:
- Rows of puff stitches (normal and elongated alternated)
- Soft color blending
- Tight single crochet rows in between for structure
