
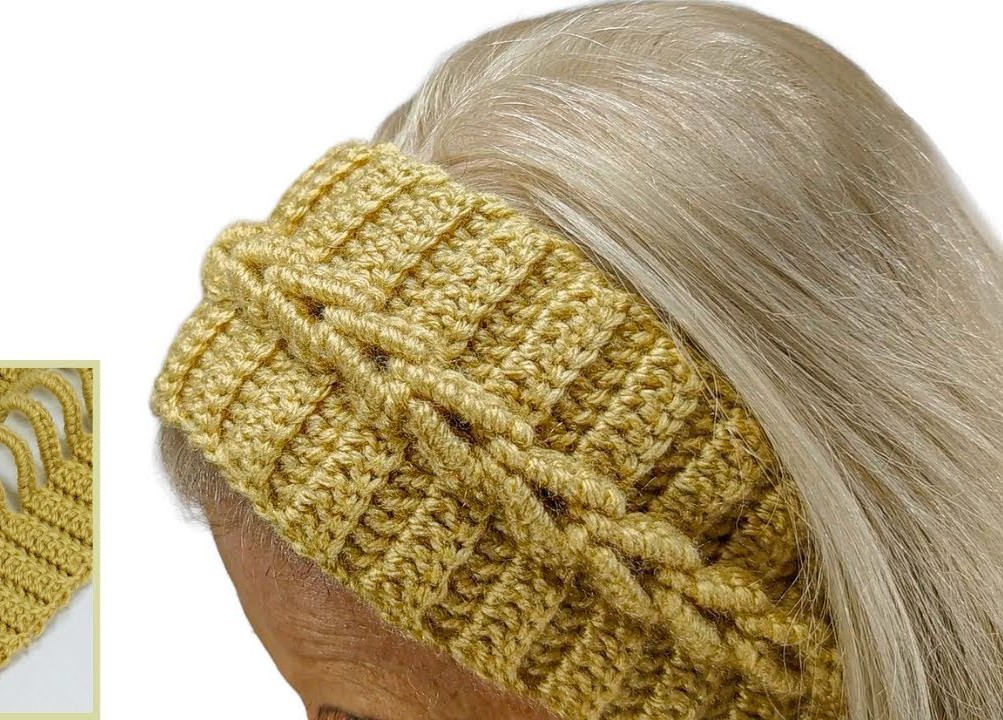
That’s a lovely crochet cable headband (ear warmer) — it uses a front post double crochet cable pattern combined with ribbed stitches for stretch and texture. Here’s how you can make it step by step 👇
🧶 Crochet Cable Headband (Ear Warmer)
✨ Materials
- Yarn: Medium weight (category #4) acrylic or wool blend.
Example: 50–70 g total. - Hook: 5 mm (H-8) crochet hook.
- Notions: Yarn needle, scissors, measuring tape.
📏 Finished Size
Approx. 9 cm (3.5″) wide, 50–52 cm (20–21″) long before sewing ends together.
👉 It will stretch to fit most adult heads.
🧵 Abbreviations (US Terms)
| Abbreviation | Meaning |
|---|---|
| ch | chain |
| st | stitch |
| sl st | slip stitch |
| sc | single crochet |
| dc | double crochet |
| FPDC | front post double crochet |
| BPDC | back post double crochet |
| sk | skip |
🪄 Step-by-Step Pattern
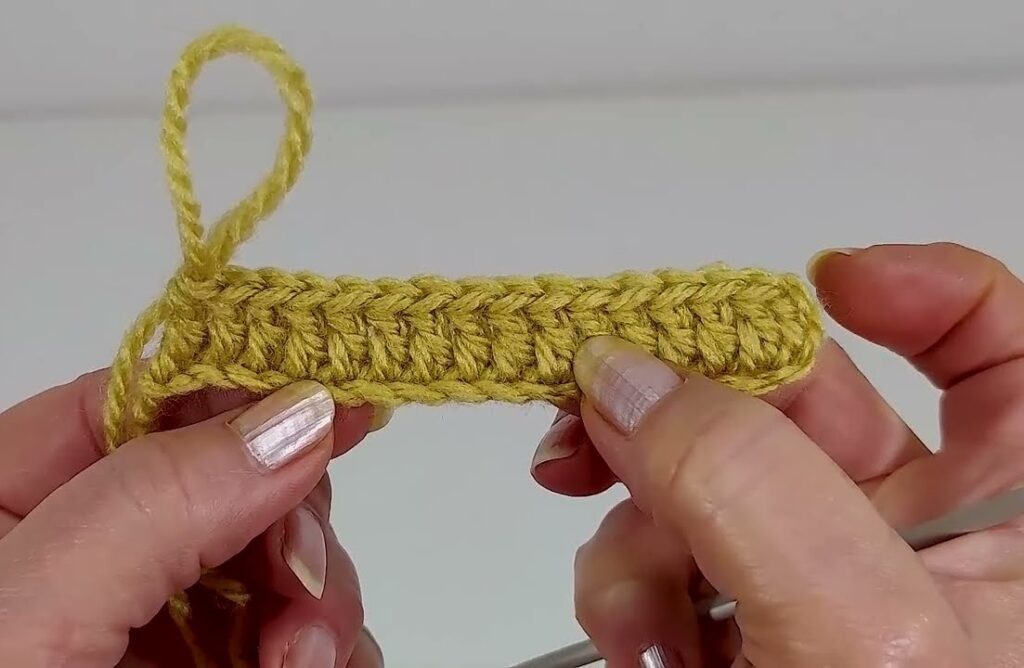
🔹 Row 1: Foundation
- Chain 18.
- Dc in 3rd ch from hook and each across.
→ You’ll have 16 dc. - Turn.
🔹 Row 2: Ribbing
- Ch 2 (counts as dc).
- FPDC around next dc, BPDC around next dc — repeat to end.
- Dc in top of turning ch.
- Turn.
🧵 This makes the bottom rib edge.
🔹 Row 3–4: Continue Ribbing
- Ch 2.
- FPDC around FPDCs from previous row, BPDC around BPDCs from previous row.
- Dc in top of turning ch.
- Turn.
Repeat once more for Row 4.
👉 You should now have a stretchy ribbed base.

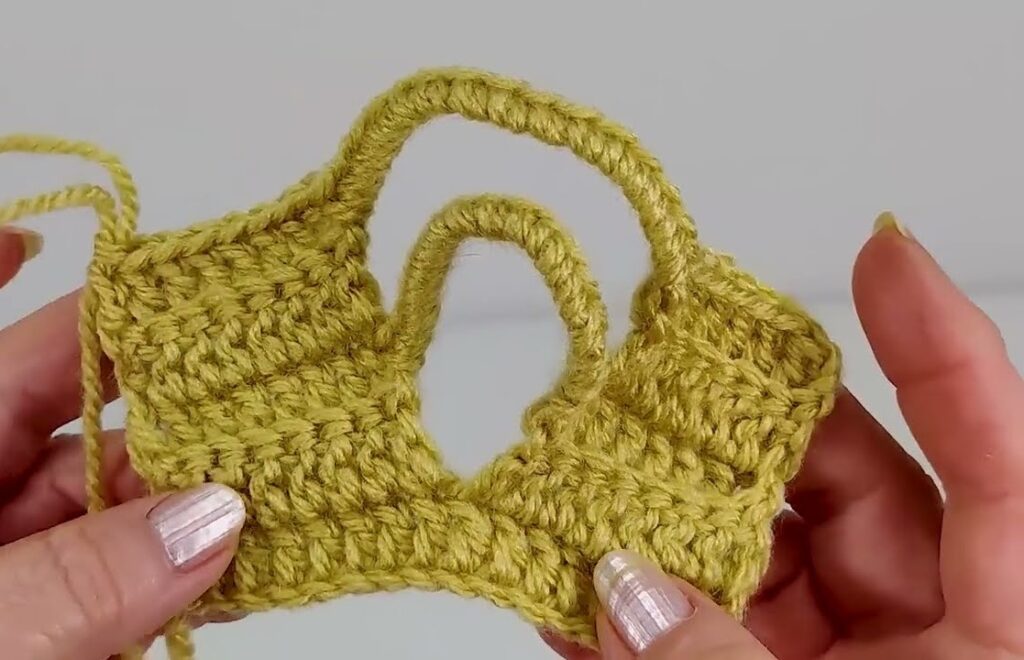
🔹 Row 5: Cable Setup
- Ch 2.
- Work 2 FPDC, then sk next 2 sts, FPDC in next 2 sts, go back to sk sts and make FPDC in each of them (this crosses the stitches and forms the cable twist).
- Continue pattern (2 FPDC, cable group, etc.) until end of row.
- Dc in last st, turn.
💡 Tip: Always make sure your cables twist in the same direction (left over right).
🔹 Row 6–8: Maintain Texture
- Ch 2.
- FPDC around FPDCs and BPDC around BPDCs as they appear (no crossing in these rows).
- This keeps the height between cable twists.
- Repeat this row 3 times.
🔹 Row 9: Cable Row Again
Repeat Row 5 to make another cable twist.
🔹 Repeat Rows 6–9
Continue until your piece measures about 20–21 inches (51–53 cm) long.
🔹 Last 3 Rows (Ribbing Finish)
- Work 3 more rows of FPDC/BPDC ribbing like the beginning (Rows 2–4).
This frames the headband with matching ribbed edges.
🧷 Finishing
- Fasten off leaving a long tail.
- Fold ends together and sew using the whip stitch or slip stitch seam.
- Optional: Twist the band once before sewing to make a “turban” knot style (like in your image).
- Weave in all yarn ends neatly.
🌟 Optional Variations
- Add buttons instead of sewing ends for an adjustable version.
- Use two colors for a striped cable effect.
- For a wider band, add more chains at the start (e.g., chain 22 instead of 18).