
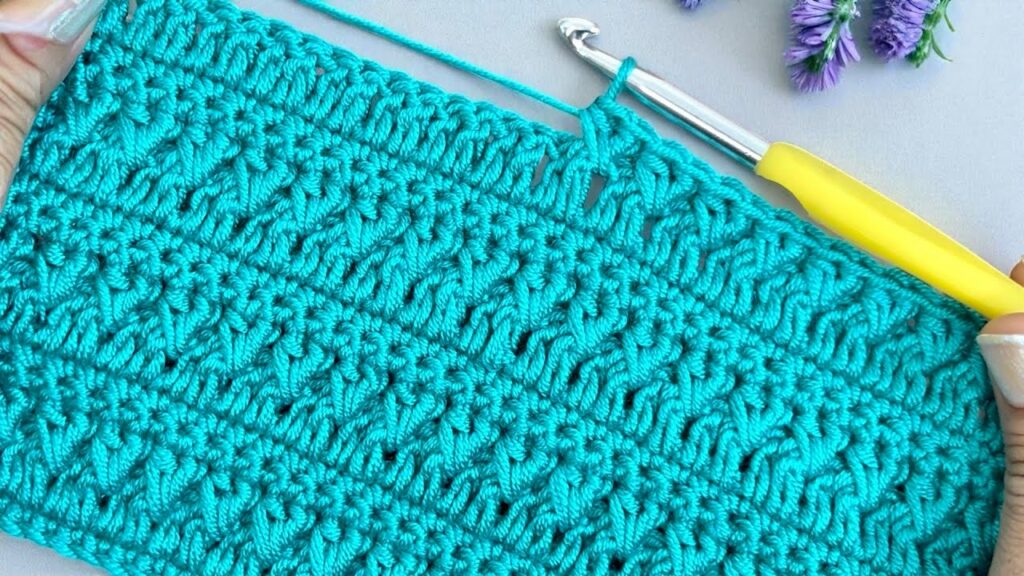
This beautiful crochet pattern is called the Waffle Stitch — it creates a lovely 3D textured fabric that looks like small waffle squares. Here’s a detailed step-by-step tutorial so you can make it:
🧶 Waffle Stitch Crochet Tutorial (Detailed Step-by-Step)
🪄 What You’ll Need
- Yarn: Medium weight (category 4) yarn
- Hook: 4 mm–5 mm (adjust to your yarn label)
- Extras: Scissors and yarn needle
🧩 Stitch Abbreviations (US Terms)
| Abbreviation | Meaning |
|---|---|
| ch | Chain |
| dc | Double Crochet |
| fpdc | Front Post Double Crochet |
| st | Stitch |
| yo | Yarn Over |
🪡 Step 1: Foundation Chain
Make a chain with a multiple of 3 + 2 extra chains (for turning).
➡️ Example: Chain 32 + 2 = 34 chains
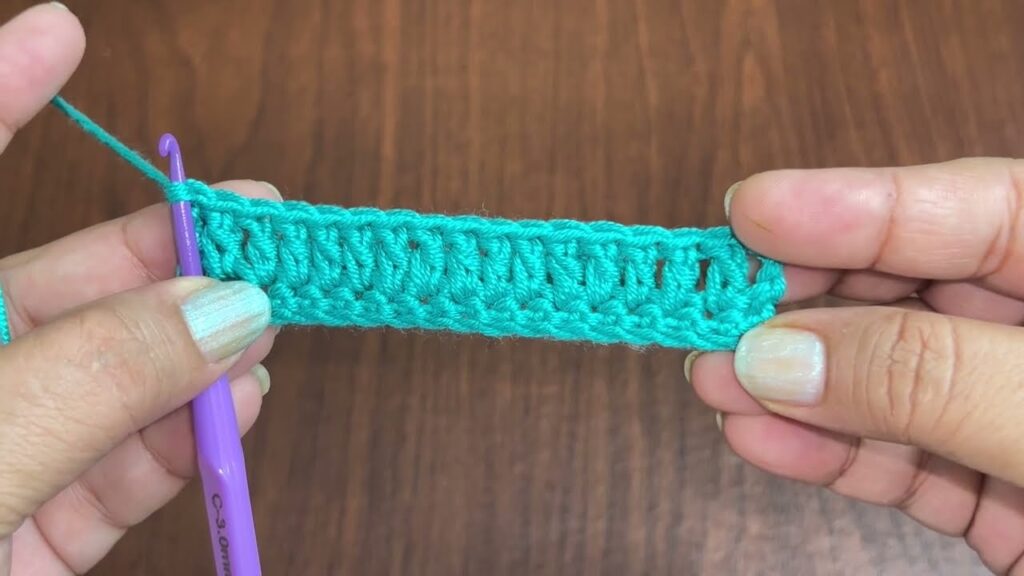
🪡 Step 2: First Row (Base Row)
- Yarn over, insert hook in 3rd chain from the hook, make 1 dc.
- Make 1 dc in each chain across the row.
- Turn your work.
👉 This row creates your base of normal double crochets.
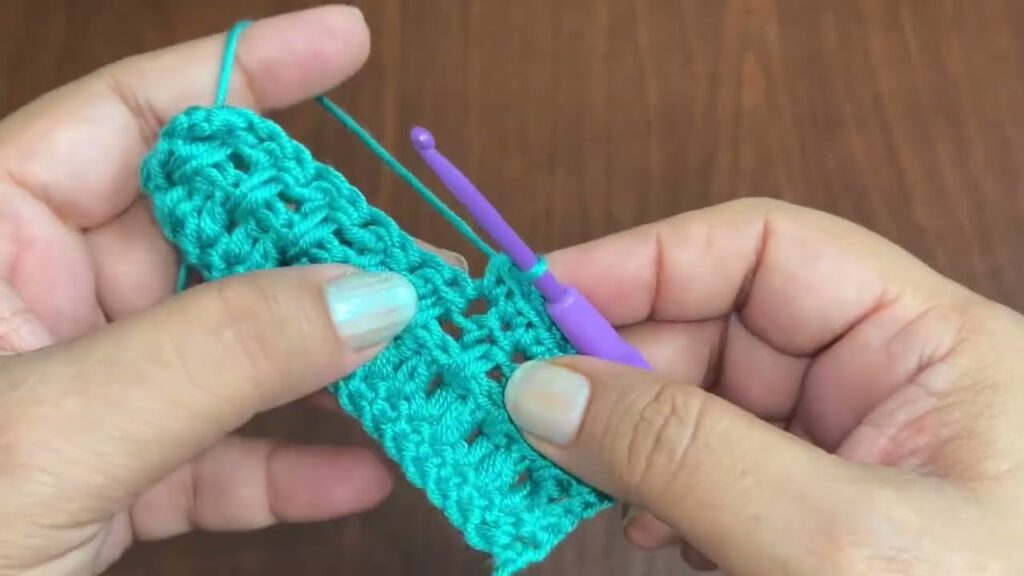
🪡 Step 3: Second Row (Start Texture)
- Ch 2 (counts as first dc).
- Front Post Double Crochet (FPDC) in next stitch:
- Yarn over, insert hook from front to back to front around the post (the vertical bar) of the dc below.
- Yarn over again and pull through.
- Complete your dc as usual (yo, pull through 2 loops twice).
- Then make 1 dc in the next 2 sts.
- Repeat across:
[1 FPDC, 2 DCs] — until the end. - Turn.
You’ll start seeing vertical ridges forming.
🪡 Step 4: Third Row (Waffle Squares Form)
- Ch 2 (counts as dc).
- Dc in next st.
- Then make FPDC around each of the next 2 sts.
- Repeat pattern across:
[1 DC, 2 FPDCs] until end. - Turn.
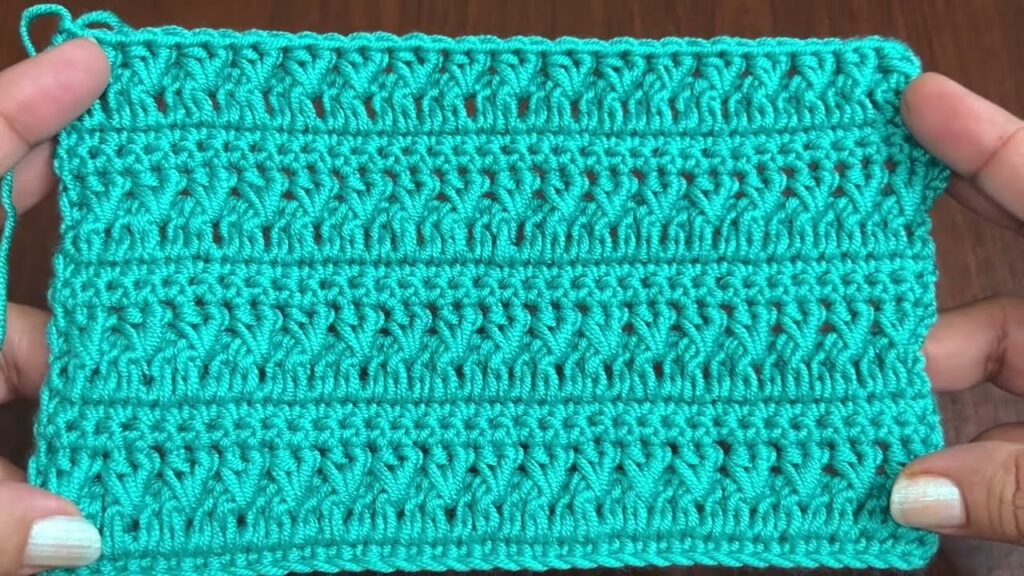
Now your ridges and recessed squares begin to alternate — creating the waffle texture.
🪡 Step 5: Continue the Pattern
Repeat Row 2 and Row 3 alternately until your project reaches the desired length.
➡️ Pattern Repeat:
- Row 2: FPDC, 2 DC
- Row 3: DC, 2 FPDC
🧵 Step 6: Final Row (Neat Edge)
To finish cleanly:
- Chain 2 and make 1 dc in each st across (no FPDC).
- Fasten off and weave in ends.
🌟 Tips for Success
- Keep even tension so your squares puff up evenly.
- The front post double crochet is key — always go around the post, not through the top loops.
- You can use contrasting yarn to see the texture better as you learn.
- Block your piece slightly to flatten the edges and enhance the waffle look.
💡 Optional Variation
If you want a thicker waffle, use 2 FPDC rows in a row before switching back.
For a lighter version, make only 1 FPDC every 3 stitches instead of every 2.