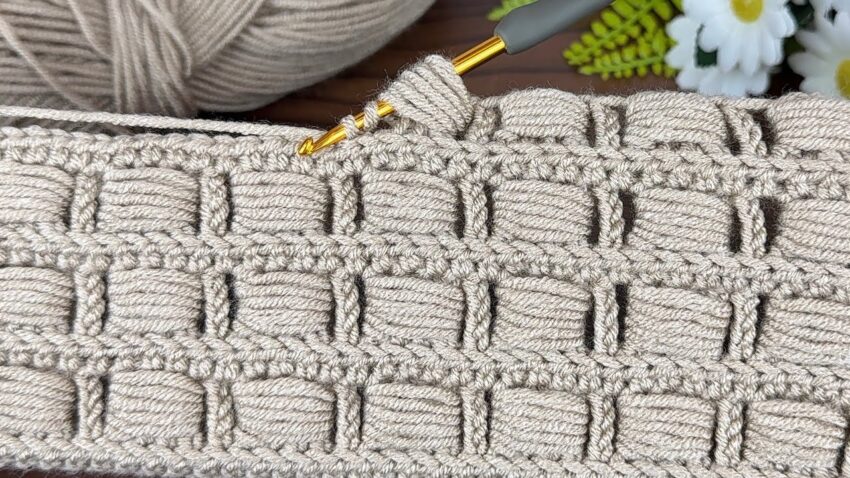
This beautiful crochet pattern in the image is called the “Waffle Stitch” or sometimes a “3D Box Stitch.” It creates a thick, textured design that looks like raised squares or boxes — perfect for blankets, bags, and cushions. Here’s a detailed step-by-step guide on how to make it:
🧶 MATERIALS
- Yarn: Medium (worsted) weight cotton or acrylic yarn.
- Hook: 4.5 mm–5.5 mm (check your yarn label).
- Other tools: Scissors and a yarn needle for weaving ends.

🔹 STITCHES & ABBREVIATIONS (US TERMS)
| Abbreviation | Meaning | How to do it |
|---|---|---|
| ch | chain | yarn over, pull through loop |
| dc | double crochet | yarn over, insert hook, yarn over, pull through (3 loops), yarn over, pull through 2, yarn over, pull through 2 |
| fpdc | front post double crochet | yarn over, insert hook around the post of the dc from the front to the back and out the front again, yarn over, pull up a loop, yarn over, pull through 2, yarn over, pull through 2 |
🧵 PATTERN IN DETAIL
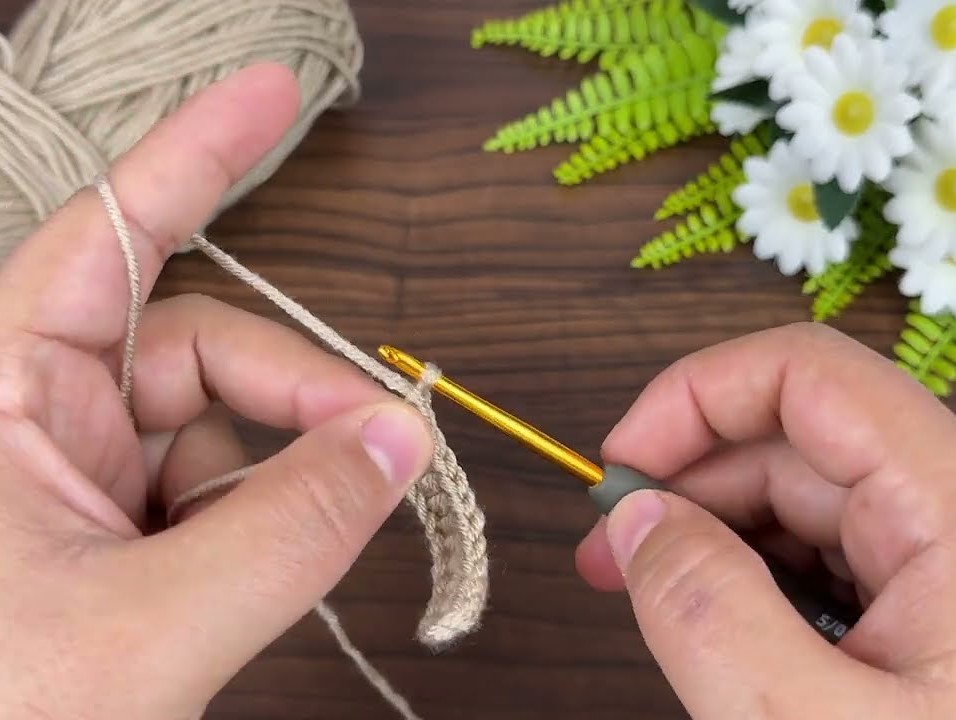
Step 1: Foundation
- Start with a chain that is a multiple of 3 + 2 (for example: 32 + 2 = 34 chains).
The “+2” gives space for turning and edge stitches.
Step 2: Row 1 – Base Row
- Work 1 dc in the 4th chain from hook (the first 3 ch count as a dc).
- Then work 1 dc in each chain across the row.
- Turn your work.
- Chain 2 (this counts as the first dc for the next row).
👉 This row gives you a solid foundation for the textured stitches.
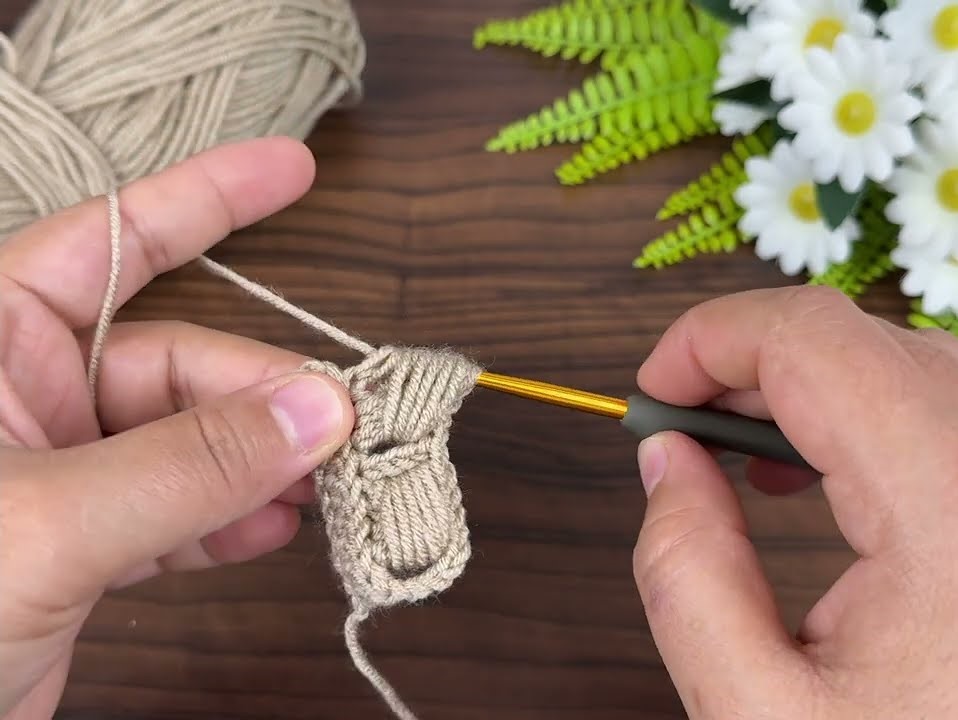
Step 3: Row 2 – Start Texture
- After ch 2, dc in the next st (this keeps your edges flat).
- Then repeat the following pattern:
- 1 fpdc around the next dc (wrap hook around the post of the dc below),
- 1 dc in each of the next 2 stitches.
- Repeat this sequence (fpdc, dc, dc) across the row.
- End the row with 1 dc in the top of the turning chain.
- Turn, chain 2.
👉 This creates the first row of raised “posts” that start to form the boxes.
Step 4: Row 3 – Deepen the Box
- Dc in first stitch (edge stitch).
- Then follow this pattern:
- 1 dc in next stitch (this sits behind the previous fpdc),
- 1 fpdc around each of the next 2 dc from the row below.
- Repeat this sequence (dc, fpdc, fpdc) across the row.
- End with dc in top of turning chain.
- Turn, chain 2.
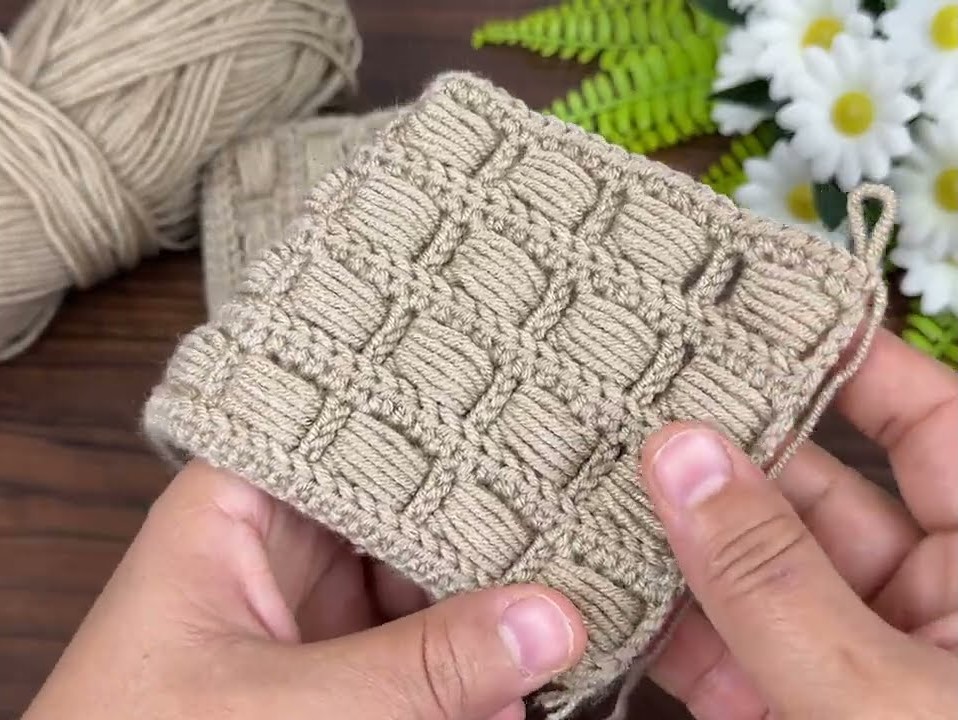
👉 Now you see alternating deep and raised rows — the waffle texture begins to appear.
Step 5: Repeat Pattern
Keep repeating:
- Row 2: fpdc, dc, dc
- Row 3: dc, fpdc, fpdc
Repeat these two rows until your project reaches the desired length.
Step 6: Finishing Edge
Once finished:
- Work 1 round of single crochet (sc) evenly around all edges.
- Add 3 sc in each corner to keep it flat.
- Weave in all ends securely.
💡 TIPS FOR BEST RESULTS
- Maintain consistent tension — FPDC can tighten your stitches.
- Block the piece lightly to show off the 3D effect.
- Use solid-color yarns — texture shows beautifully.
- Perfect for blankets, scarves, cushion covers, and bags.