
It looks like the image shows the start of a crochet foundation using multiple strands of yarn — possibly for a multi-strand magic ring or decorative thick chain base. Here’s how to make it:
🧶 Materials
- 3–4 strands of yarn (in the image: green shades and white)
- Crochet hook — use one that’s larger than usual (for example, if your yarn suggests 4 mm, use a 6 mm hook)
- Scissors
🌼 Step-by-Step Instructions
Step 1: Prepare the Yarn
- Take the ends of 3 or 4 yarn balls or skeins.
→ If you only have one ball, you can wrap it around 3–4 times and cut equal lengths. - Hold all strands together as if they are one thick piece of yarn.
💡 Tip: You can use different shades of the same color (like greens in the photo) for a beautiful gradient effect.
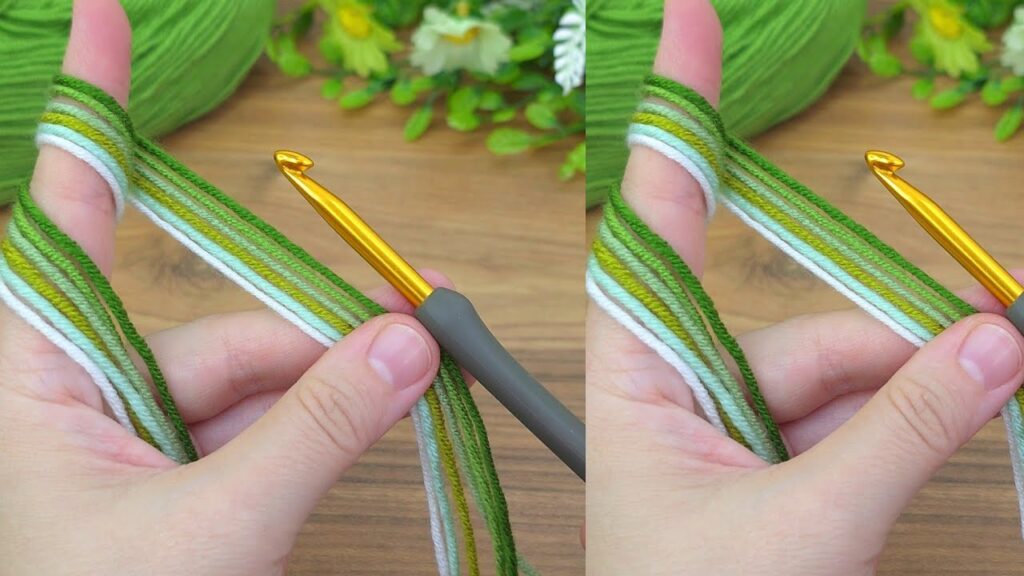
Step 2: Hold the Yarn Properly
- Place all strands together over your index finger and thumb, forming a wide loop (like in the image).
- The yarn should cross over itself at the base of your thumb — this forms the foundation for a slip knot.
- The shorter tail ends stay on the left, and the longer working yarn goes to the right (connected to your yarn balls).
Step 3: Insert the Hook
- Hold your hook in your dominant hand.
- Slide the hook under the front strand of yarn on your thumb.
- Then catch the back strand (the one behind your thumb) with your hook tip.
- Pull that back strand under the front strand — you’ll see a small loop forming on your hook.
👉 This motion creates the first slip knot.
Step 4: Make a Slip Knot
- Carefully remove your thumb while holding the loop on the hook.
- Pull the yarn tails slightly to tighten the loop — not too tight; it should slide easily on the hook.
This is your starting loop.
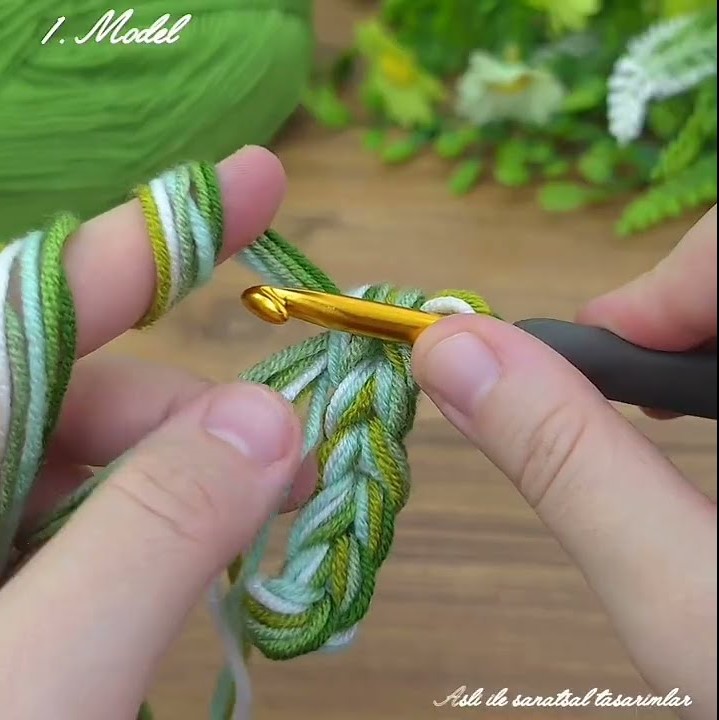
Step 5: Start the Chain
- With all yarn strands held together, yarn over (wrap all strands over your hook from back to front).
- Pull through the loop on the hook — this creates your first chain stitch.
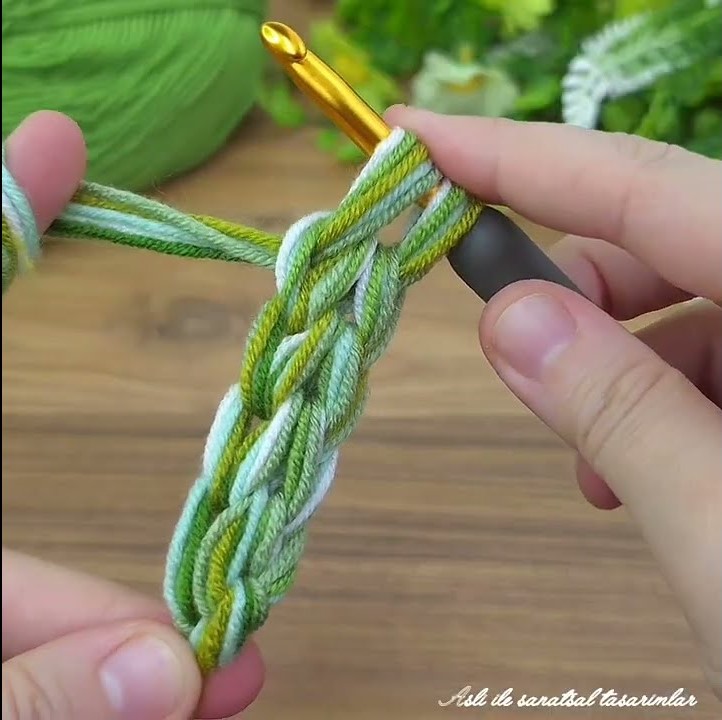
- Repeat this motion to make more chains.
➡ Each “chain” will look thick and colorful because of the multiple strands.
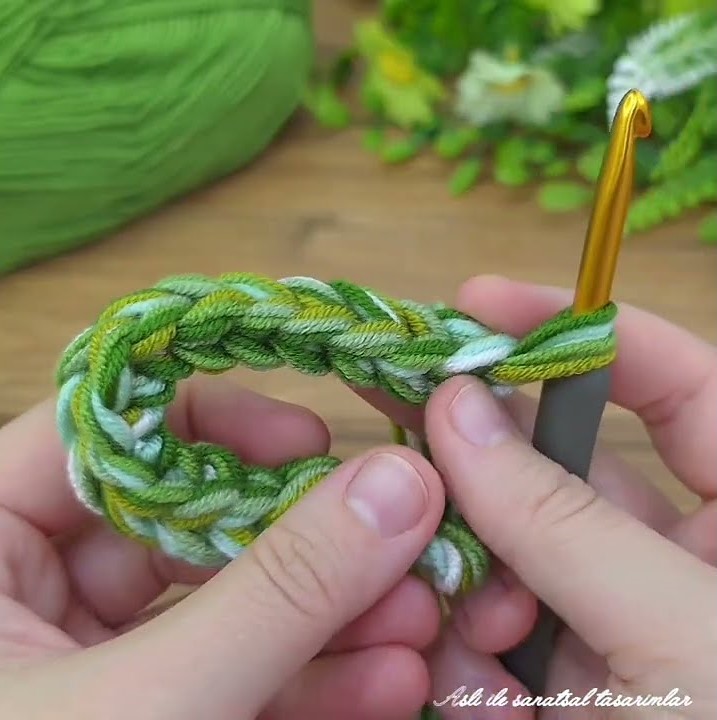
Step 6: Use or Continue
You can now:
- Use the chain as a base row for crocheting thick fabric.
- Continue single crochet stitches across to make a strap, cord, or rug base.
- Leave it as-is to use as a decorative tie or handle.
Optional Finishing
- Cut the yarn, leaving a small tail.
- Pull the tail through the last loop and tighten securely.
- Trim and weave in ends if desired.