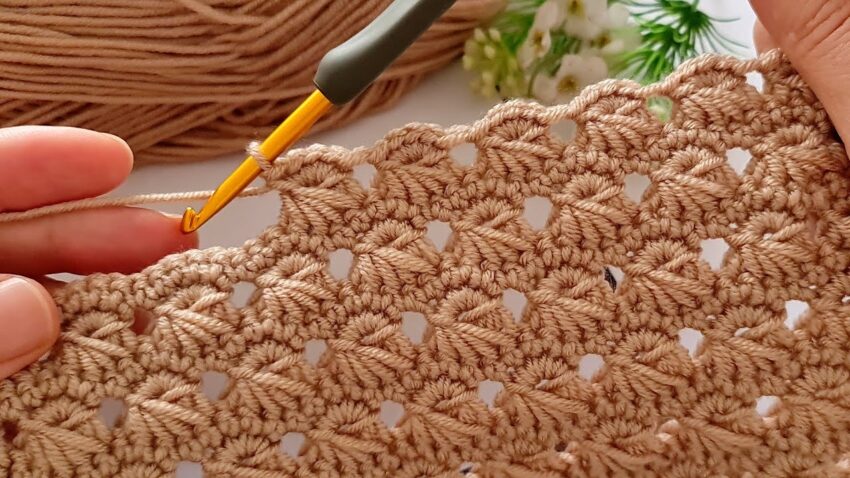
he Shell Stitch or sometimes the Fan Stitch — a lovely textured design made with groups of double crochets forming a scalloped pattern. Here’s how you can make it step-by-step:
🧵 Crochet Shell Stitch – Detailed Tutorial
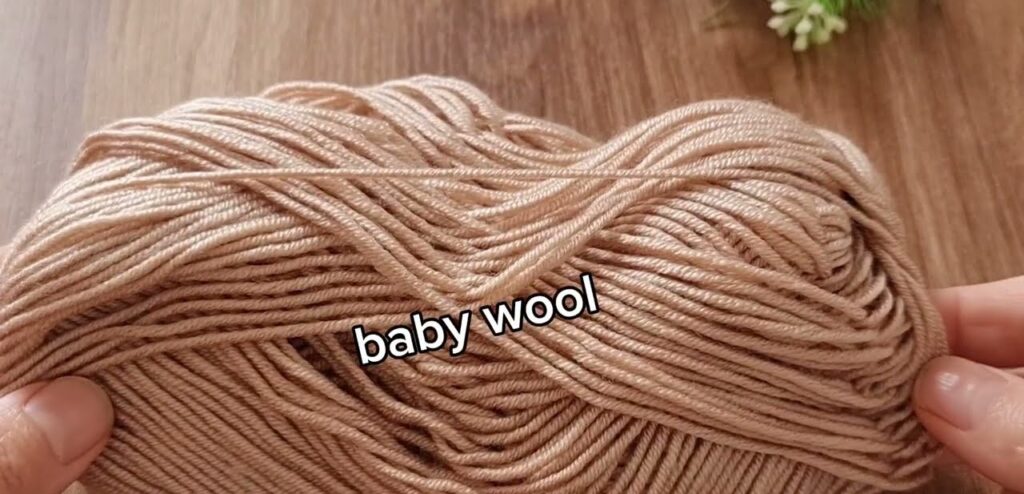
🌸 What You’ll Need:
- Medium-weight yarn (4-ply or DK)
- Crochet hook: 3.5 mm – 4 mm
- Scissors
- Yarn needle for weaving ends

🪡 Step 1: Make the Foundation Chain
- Start with a multiple of 6 + 2 chains.
Example:
Chain 32 + 2 = 34 chains for practice. - The “+2” gives the proper edge and turning space.
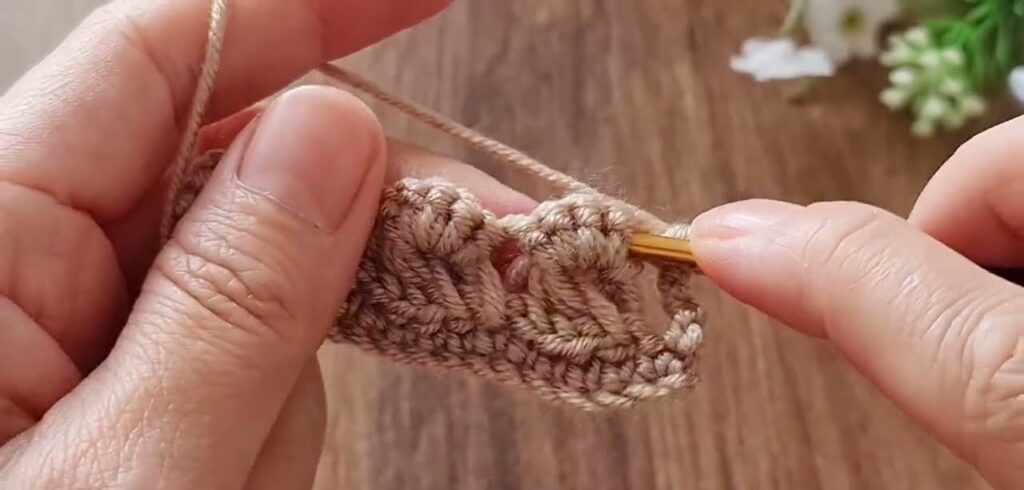
🌷 Step 2: Row 1 – Setting the Base
- Insert hook in the 2nd chain from the hook.
→ Make 1 single crochet (sc). - Skip the next 2 chains,
→ In the next chain, make 5 double crochets (dc) all in the same stitch.
(This creates the first shell.) - Skip the next 2 chains,
→ Make 1 sc in the next chain (this anchors the shell). - Repeat from * to * across the row:
- Skip 2 ch → 5 dc in next → skip 2 ch → 1 sc in next.
- When you reach the end, end the row with 1 sc in the very last chain.
- Turn your work.
✅ You should see pretty fan shapes forming across your base row.
🌼 Step 3: Row 2 – Forming the Offset Shells
- Chain 3 (this counts as the first dc).
- Make 2 dc in the same stitch (this forms a half shell on the edge).
- Skip the next 2 dc,
→ In the middle dc of the shell, make 1 sc. - Skip the next 2 dc,
→ In the next sc (space between shells), make 5 dc (this forms the next shell). - Repeat from * to * across the row.
- When you reach the last stitch, make 3 dc in the last sc (half shell again).
- Turn your work.
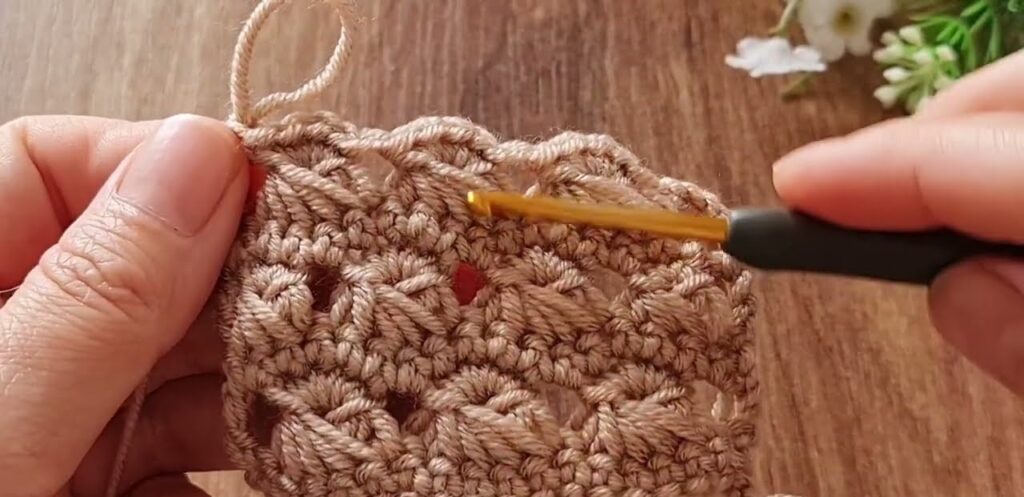
Now you’ll notice the shells are staggered—each row’s shells sit in the spaces of the previous row.
🌿 Step 4: Row 3 – Repeat the Pattern
- Chain 1, make 1 sc in the first stitch.
- Skip 2 dc,
→ Make 5 dc in the next sc (between shells). - Skip 2 dc,
→ Make 1 sc in the next dc (middle of shell). - Repeat from * to * to the end.
- End with 1 sc in the top of the turning chain.
- Turn your work.
Continue repeating Row 2 and Row 3 until your project reaches the size you want.
🌸 Optional Border
To make it look neat:
- Work a row of single crochet all around the edges.
- You can add a scalloped border by making 5 dc in one stitch, skip 1, then sc in next, and repeat.
💡 Tips
- Keep tension even — shells look best when all stitches are consistent.
- If the fabric curls, try using a slightly larger hook.
- For a lacy look, use cotton yarn; for a soft texture, try acrylic or bamboo yarn.