
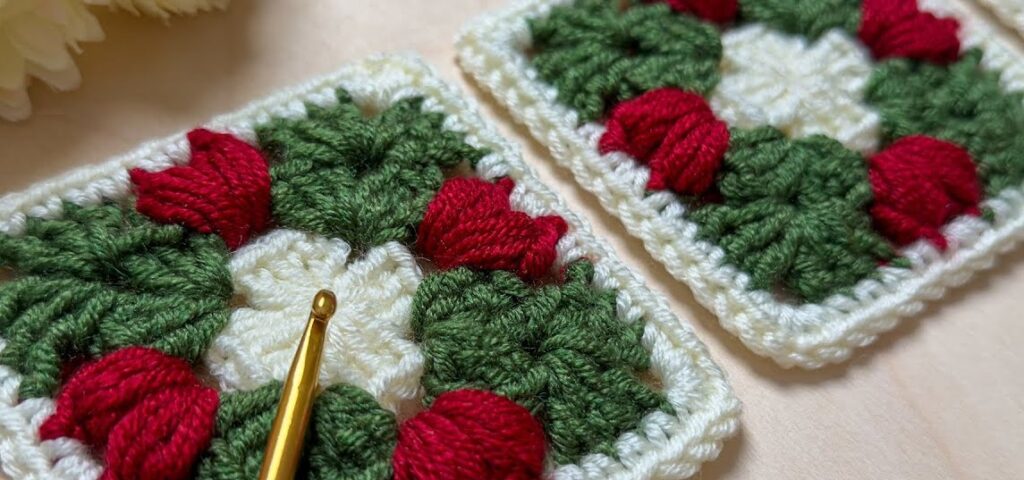
That’s a Christmas wreath crochet granny square — a festive design that combines puff stitches (for the red “berries”) and clusters (for the green “leaves”). Here’s how you can make it step-by-step:
🧶 Materials
- Yarn: 3 colors —
- A (White): background
- B (Green): leaves
- C (Red): berries
- Hook: 4.0 mm or 4.5 mm (depending on yarn thickness)
- Tapestry needle
- Scissors
🔹 Abbreviations (US terms)
- MR – Magic ring
- ch – chain
- sl st – slip stitch
- sc – single crochet
- dc – double crochet
- tr – treble crochet
- sp – space
- st – stitch
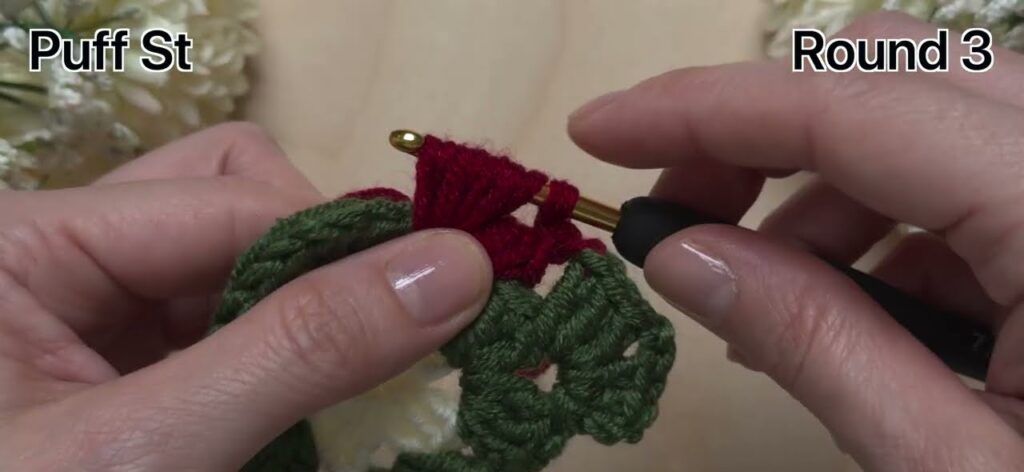
- ps – puff stitch Puff Stitch: [Yarn over, insert hook into stitch, pull up a loop] × 4, yarn over and pull through all loops on hook, ch 1 to secure.
🌟 Step-by-Step Instructions
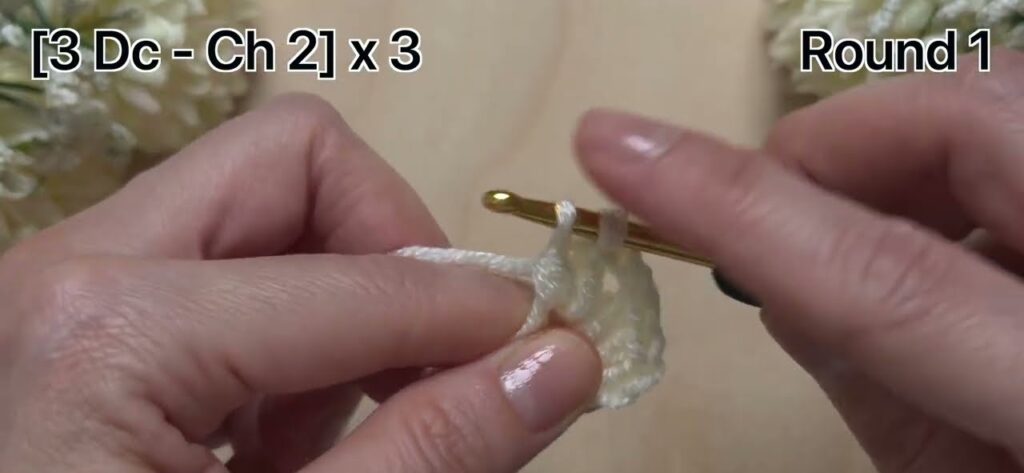
🧩 Round 1 – White Center
- Start with white yarn (A).
- Make a magic ring, ch 3 (counts as first dc).
- Work 2 dc, ch 2.
- (3 dc, ch 2) × 3 more times.
→ You’ll have 4 groups of 3 dc separated by ch-2 spaces. - Join with a sl st to top of beginning ch 3.
- Fasten off (optional) or continue with green.
🕊 Result: A small white square center.
🌿 Round 2 – Green Leaves
- Join green yarn (B) in any ch-2 corner space.
- Ch 3 (counts as dc), work 2 dc, ch 2, 3 dc (first corner made).
- In next ch-2 space: 3 dc, ch 2, 3 dc.
- Repeat in each corner (total 4 corners).
- Join with sl st to the top of ch 3.
📐 You now have a solid green frame around the white center.
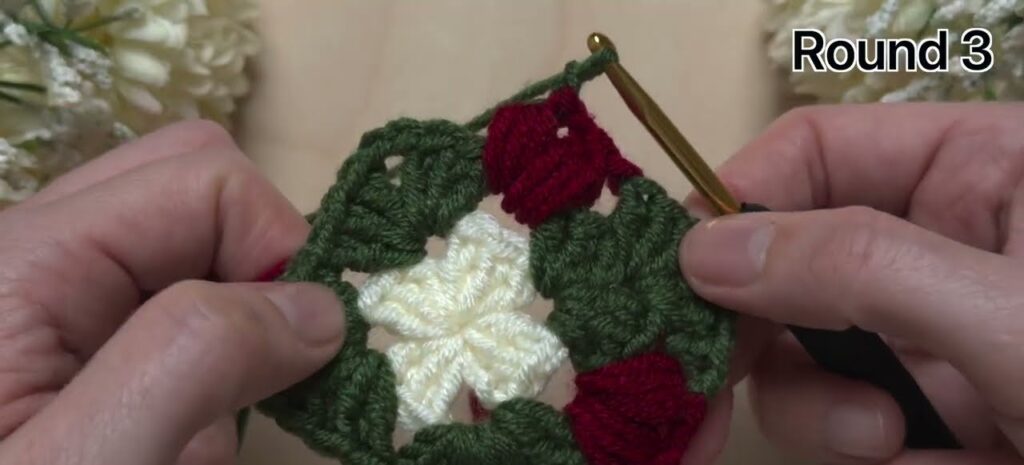
🍃 Round 3 – Green Petals (Texture Layer)
To make the wreath “leafy”:
- Stay with green (or reattach if you fastened off).
- In any space between corner clusters, work:
- (1 tr, ch 1, 1 tr, ch 1, 1 tr) in same space — these tall stitches form petal-like leaves.
- Skip corner clusters; just do this petal group in each side space.
- Join with sl st to top of first tr. Fasten off green.
🌿 The leaf texture should puff slightly outward.
🍒 Round 4 – Red Berries (Puff Stitches)
- Join red yarn (C) between leaf groups (midpoints of each side).
- Work 1 puff stitch in that space (as defined above).
- Ch 1, skip next space, and work another puff stitch.
- Repeat around — about 2 puff stitches per side.
- Join with sl st to top of first puff stitch. Fasten off.
🍓 Tip: Pull the puff stitches tight at the base so they sit plump and round.
⬜ Round 5 – White Border
- Attach white yarn (A) in any corner ch-2 space.
- Ch 3 (counts as dc), 2 dc, ch 2, 3 dc (corner).
- Ch 1, 3 dc in next space (between puff and leaf clusters), ch 1 — repeat along each side.
- In each corner: (3 dc, ch 2, 3 dc).
- Continue until all sides are done.
- Join with sl st to top of first ch 3.
- Fasten off and weave in all ends.
🎀 Finishing Touches
- Block your square with a bit of steam to flatten.
- Sew multiple squares together with slip stitch or whip stitch for a festive blanket or pillow.
- Optional: add a little gold/yellow bead in the center for a “wreath bow” effect.